
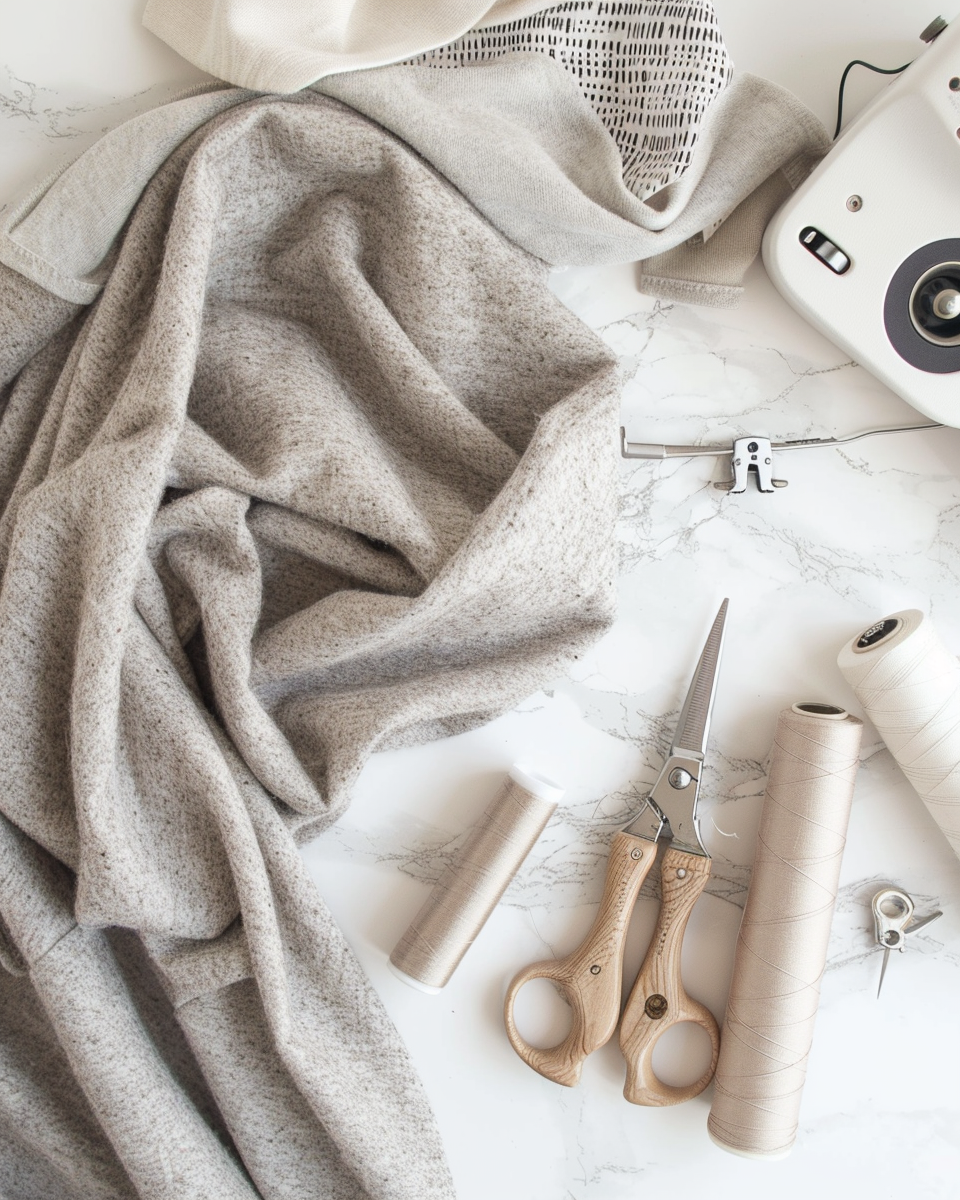
Welcome to the world of sewing! As a beginner, it’s important to set realistic expectations and understand that sewing is a skill that takes practice and patience. In this guide, we will focus on the essential tools and materials you need to get started with sewing knitwear and stretch items, such as socks, leggings, and t-shirts. By the end of this guide, you’ll be well-equipped to embark on your sewing journey.
Tools and Materials Needed
Before diving into your first project, it’s crucial to gather the right tools and materials. Here’s a list of essential items you will need:
- Sewing Machine: A reliable sewing machine that can handle stretch fabrics is essential. Look for machines with a zig-zag stitch option and ensure it can accommodate stretch stitches.
- Ballpoint Sewing Needles: These needles are specifically designed for sewing knit fabrics, allowing you to sew without damaging the fabric.
- Polyester Thread: A strong and elastic thread that works well with stretch fabrics.
- Fabric Scissors: A sharp pair of scissors dedicated to cutting fabric will ensure clean edges.
- Rotary Cutter and Mat: For precise cutting, especially when working with pattern pieces.
- Measuring Tape: Essential for taking accurate measurements of your body and fabric.
- Fabric Marking Tools: Tailor’s chalk or fabric markers to mark your fabric without leaving permanent marks.
- Pins or Clips: Use these to hold your fabric pieces together while sewing, especially important for stretchy materials.
- Seam Ripper: An invaluable tool for correcting mistakes.
- Printable PDF Pattern: Ensure you have a physical or printable PDF pattern for your project before you begin cutting your fabric.
Measurements & Pattern Preparation
Accurate measurements are key to achieving a well-fitted garment. Here are some guidelines for taking your measurements:
- For Leggings: Measure your waist, hip, and inseam to ensure a perfect fit.
- For T-shirts: Measure your bust, waist, and hip to find the right size.
- For Socks: Measure the length of your foot from heel to toe.
Once you have your measurements, it’s time to prepare your pattern. Make sure you have a physical or printable PDF pattern before you start cutting your fabric. Follow the pattern instructions carefully, as they will provide guidance on cutting and sewing your pieces together.
Fabric Prep & Precise Cutting
Preparing your fabric is an essential step in ensuring the success of your sewing project. Here’s how to properly prepare and cut your fabric:
- Pre-Washing: Always pre-wash your fabric according to the manufacturer’s instructions. This helps to prevent shrinkage after your garment is completed.
- Aligning the Grainline: Make sure to align your pattern pieces with the grainline of the fabric for the best results. This will ensure that your garment hangs correctly.
- Pinning: Use pins or clips to secure your pattern pieces to the fabric. This will help prevent shifting while cutting.
- Cutting: Use fabric scissors or a rotary cutter for precise cutting. Follow the edges of the pattern pieces carefully to ensure accuracy.
By following these steps and gathering the essential tools and materials listed, you will be well on your way to starting your sewing journey with confidence. Remember, practice makes perfect, and don’t hesitate to seek help or resources along the way. Happy sewing!

Step-by-Step Construction Guide
- Prepare the Cuff: Begin by sewing the short ends of the cuff fabric together to form a tube. Press the seam open. Then, fold the tube in half with the raw edges aligned. Press again to create a crisp edge.
- Sew the Heel Curve: Position the heel curve pieces right sides together. Using a zig-zag or stretch stitch, sew along the curve with a 1/4 inch seam allowance. Press the seam open to ensure a smooth finish.
- Sew Foot Side Seams: Align the foot pieces right sides together. Sew the side seams from the toe to the heel using a stretch stitch, maintaining a 1/4 inch seam allowance. Press the seams open to avoid bulk.
- Close the Toe Seam: Fold the toe edges together, right sides facing. Sew across the toe seam using a stretch stitch with a 1/4 inch allowance. Press the seam open to reduce any puckering.
Pro Tailoring Tips & Troubleshooting
As you embark on your sewing journey, consider these pro tips to enhance your skills and avoid common pitfalls:
- Tension Adjustments: Ensure your sewing machine tension is correctly set for stretch fabrics. A too-tight tension can cause puckering, while too loose can lead to skipped stitches. Test on a scrap piece before starting your project.
- Preventing Puckering: To avoid puckering, use a ballpoint needle which is designed for knit fabrics. Additionally, consider using a walking foot to help feed the fabric evenly through the machine.
- Choosing Correct Sewing Machine Needles: For sewing knitwear, a ballpoint needle is essential as it slides between the fibers rather than cutting them, which helps maintain the integrity of the fabric.
- Clipping Curves: When sewing curves, make small clips into the seam allowance (without cutting the stitching) to help the fabric lay flat when turned. This is particularly useful for curves like the heel of socks.
Care & Garment Maintenance
To ensure the longevity of your newly sewn items, follow these care instructions:
- Washing: Always wash your knitwear in cold water to prevent shrinkage and maintain the fabric’s elasticity. Use a gentle cycle and avoid harsh detergents.
- Drying: Air dry your garments whenever possible. If using a dryer, opt for a low heat setting to minimize the risk of shrinkage and damage to the fabric.
- Ironing Temperatures: When ironing, use a low heat setting and a pressing cloth to protect the fabric. Avoid direct contact with the iron to prevent melting or damaging the fibers.
Conclusion
Congratulations on taking the first steps into the world of sewing! By gathering the essential tools and following the detailed construction guide, you are well on your way to creating beautiful knitwear items. Remember that practice makes perfect, so don’t be discouraged by initial challenges. Use the pro tailoring tips to troubleshoot common issues, and take care of your garments to ensure they last. Happy sewing!