
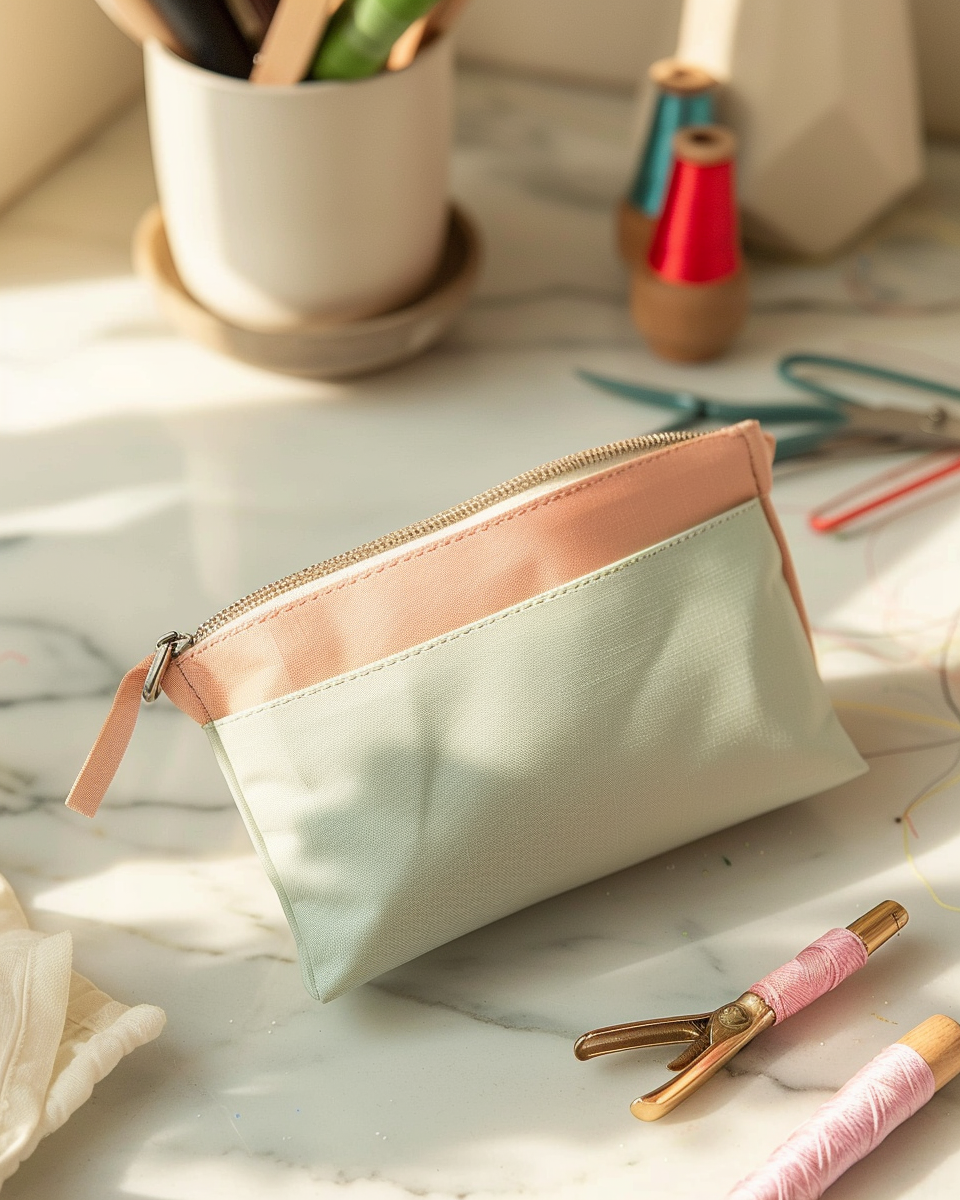
Welcome to your first sewing project! In this guide, we will walk you through the process of creating a stylish and functional coin purse. This project is perfect for beginners, as it introduces you to essential sewing techniques while allowing you to create a practical accessory. By the end of this guide, you will have a beautiful coin purse that you can proudly say you made yourself!
Tools and Materials Needed
To successfully sew your coin purse, you will need the following tools and materials:
- Fabric: Choose a stable woven fabric such as cotton canvas or quilting cotton for durability.
- Thread: Use polyester thread that matches your fabric color.
- Needles: A universal needle is recommended for sewing through woven fabrics.
- Scissors: Fabric scissors for cutting your fabric pieces.
- Measuring Tape: For accurate measurements.
- Ruler or Straight Edge: To help with cutting straight lines.
- Pins or Clips: To hold fabric pieces together while sewing.
- Sewing Machine: A basic sewing machine is essential for this project.
- Iron: For pressing seams and fabric edges.
- Pattern Template: Ensure you have a physical or printable PDF pattern for your coin purse.
Measurements & Pattern Preparation
Before you start cutting your fabric, it’s crucial to prepare your pattern. You will need to determine the size of your coin purse based on your preferences. A standard coin purse size is approximately 5 inches wide by 4 inches tall, but feel free to adjust the dimensions to suit your needs.
Once you have decided on the dimensions, obtain a physical or printable PDF pattern for your coin purse. Make sure to cut out the pattern pieces accurately. If you are creating your own pattern, remember to include seam allowances of 1/4 inch (6 mm) around the edges for your seams.
Fabric Prep & Precise Cutting
Before cutting your fabric, it’s essential to prepare it properly. Start by pre-washing your fabric to remove any sizing or chemicals that may be present. This step is crucial for preventing shrinkage later on. Follow these steps:
- Wash your fabric in cold water and allow it to air dry or tumble dry on low heat.
- Press the fabric with an iron to remove any wrinkles.
Next, lay your fabric on a flat surface. Ensure that the grainline of the fabric is aligned correctly; this will help your coin purse maintain its shape. Use your ruler or straight edge to measure and mark the cutting lines for your pattern pieces. Pin or clip the pattern pieces to the fabric to hold them in place while cutting.
When cutting, be sure to cut along the marked lines carefully. Use sharp fabric scissors for a clean edge. After cutting, you should have all the necessary pieces for your coin purse, including the outer fabric and lining pieces.
With your materials prepared and your pattern pieces cut, you are ready to move on to the sewing process. In the next part of this guide, we will cover the step-by-step instructions for assembling your coin purse, including tips for sewing and finishing techniques.

Step-by-Step Construction Guide
- Prepare Your Fabric: Cut two pieces of fabric for the outer purse and two pieces for the lining, each measuring 6 inches by 8 inches. Ensure the fabric is pre-washed and ironed to prevent shrinking later. Press the fabric pieces flat.
- Prepare the Zipper: Take a 7-inch zipper and lay it face down on one of the outer fabric pieces, aligning the top edge. Pin it in place. Using a zipper foot, sew along the edge of the zipper, ensuring to backstitch at the beginning and end. Press the seam flat, away from the zipper.
- Attach the Other Outer Fabric Piece: Place the second outer fabric piece right sides together with the first piece, aligning the edges. Pin in place, ensuring the zipper is sandwiched between the two pieces. Sew along the top edge, using a 1/4 inch seam allowance. Press the seam open.
- Install the Lining: Take one of the lining pieces and lay it face down on the outer fabric. Align the top edges and pin in place. Sew along the top edge, then press the seam open. Repeat this step with the second lining piece, pinning it to the other side of the zipper and sewing along the top edge.
- Prepare to Box the Corners: With the outer fabric and lining sewn to the zipper, fold the purse so that the outer fabric is on one side and the lining on the other, aligning the side seams. Pin the corners of the outer fabric and lining, ensuring the seams are aligned. Measure 1 inch from the corner and mark a line across the corner.
- Sew the Corners: Sew along the marked line for both the outer fabric and lining, creating a boxed corner. Trim excess fabric, leaving a 1/4 inch seam allowance. Press the corners flat.
- Turn the Purse Right Side Out: Carefully pull the outer fabric through the zipper opening to turn the purse right side out. Use a blunt tool to push out the corners for a crisp finish. Press the purse to smooth out any wrinkles.
- Close the Lining Opening: With the purse turned right side out, tuck the lining inside the purse. Hand stitch or machine sew the opening of the lining closed, ensuring it is neatly finished. Press the lining to ensure it sits flat inside the purse.
- Topstitch the Edges: To give your coin purse a professional finish, topstitch around the top edge of the purse, approximately 1/8 inch from the edge. This will help keep the lining in place and add a decorative touch. Press the topstitched edge.
- Final Pressing: Give your completed coin purse a final press to ensure all seams are flat and the shape is crisp. Use a pressing cloth to avoid damaging the fabric.
Pro Tailoring Tips & Troubleshooting
- Tension Adjustments: If your stitches are too loose or too tight, adjust the tension on your sewing machine. A good starting point is to set the tension to the middle setting and make adjustments from there based on your fabric type.
- Preventing Puckering: To avoid puckering, ensure that you are using the correct needle for your fabric type. A universal needle is ideal for woven fabrics. Also, do not pull the fabric while sewing; let the machine do the work.
- Choosing the Correct Sewing Machine Needles: For heavier fabrics, use a denim or universal needle. For lighter fabrics, a standard universal needle will suffice. Always replace dull needles to maintain stitch quality.
- Clipping Curves: When sewing curves, clip the seam allowance at regular intervals to help the fabric lay flat. Be careful not to cut into the seam itself. This technique is particularly useful when boxing corners.
Care & Garment Maintenance
To keep your coin purse looking its best, follow these care instructions:
- Washing: Hand wash your coin purse in cold water with mild detergent. Avoid machine washing as it may distort the shape.
- Drying: Air dry your purse flat. Do not wring out or twist the fabric, as this can cause damage. Avoid direct sunlight to prevent fading.
- Ironing Temperatures: Use a low heat setting when ironing your coin purse. Always use a pressing cloth to protect the fabric from direct heat. Avoid steam, as it may cause the fabric to warp.
Conclusion
Congratulations on completing your very own coin purse! This project not only introduces you to fundamental sewing techniques but also allows you to express your creativity through fabric choices and design. As you continue your sewing journey, remember that practice makes perfect. Don’t hesitate to experiment with different fabrics, colors, and embellishments to create unique accessories. Happy sewing!