
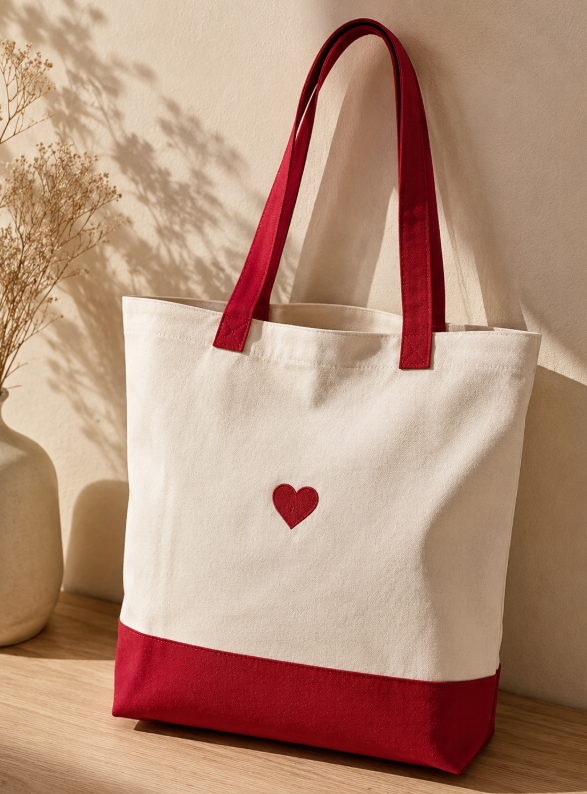
There is something quietly satisfying about making something useful with your own two hands. Sewing your own tote bag is not only a practical skill, but also a simple and enjoyable way to be creative, experiment with fabric, and make something that you can actually use every day.
A handmade tote bag can become your everyday shopping bag, a useful carry-all for books and personal items, or a stylish accessory that reflects your personality. The best part is that you get to choose everything, from the fabric and lining to the handle material and decorative details.
If you’re new to sewing, don’t worry if your first stitches aren’t perfectly straight. That’s completely normal. Sewing is a skill that improves with practice, and a simple tote bag is a great project for beginners because it introduces several useful techniques without requiring a complicated sewing pattern.
In this tutorial, you’ll learn how to sew a simple lined tote bag using two pieces of fabric and a pair of handles. The process involves measuring and preparing your fabric, positioning the handles, joining the outer fabric and lining, folding the bag, and sewing the side seams.
You can make your tote bag in almost any color or fabric combination you like. A sturdy fabric such as denim or linen works well for the outside, while lightweight cotton makes a comfortable and attractive lining.
You can also personalize your finished bag with embroidery, a small fabric patch, decorative stitching, or your favorite color combination. The basic technique gives you a foundation, but the final design is completely up to you.
The important thing is to work carefully, measure accurately, and take your time with each step. Once you understand the basic construction, you’ll be able to make more tote bags in different sizes and fabrics with confidence.
Materials You’ll Need
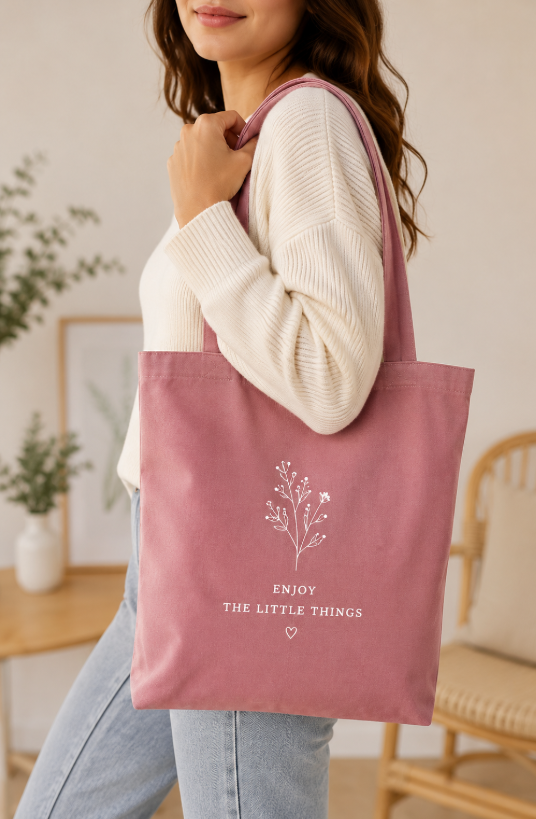
Before starting your tote bag sewing project, prepare all of your materials and tools. Having everything nearby will make the process easier and help you work without unnecessary interruptions.
Outer Fabric
- 1 piece of sturdy fabric measuring 70 × 30 cm (27.5 × 11.8 inches)
- Denim, linen, canvas, or another durable woven fabric works well
Lining Fabric
- 1 piece of lining fabric measuring 70 × 30 cm (27.5 × 11.8 inches)
- Lightweight cotton is a good choice for the lining
Handles
- 2 fabric straps, approximately 50 cm (19.7 inches) long each
- You can use fabric straps or woven webbing, depending on the look you want
Sewing Tools
- Sewing machine
- Sewing pins or sewing clips
- Fabric scissors
- Sewing chalk or washable fabric marker
- Measuring tape or ruler
- Iron
Once everything is ready, you can begin preparing the tote bag.
Step 1: Prepare and Measure the Fabric

Start by preparing the outer fabric and lining.
Measure and cut the outer fabric to 70 × 30 cm. Then cut the lining to the same size.
Try to be as accurate as possible when measuring. Even small differences between the two pieces can make the finished bag look uneven.
Before cutting or sewing, make sure the fabric is smooth and free from large wrinkles. If necessary, press it with an iron first.
If your fabric tends to fray, you can also take extra care when handling the raw edges during the sewing process.
Step 2: Mark the Handle Placement
Next, decide where you want the two handles to be positioned.
Place the handles evenly along the upper area of the outer fabric. Make sure the distance from each handle to the side edges is the same so the finished tote bag will hang evenly.
Use sewing chalk or a washable fabric marker to mark the handle positions.
Take a moment to check the placement before sewing. It is much easier to correct the position now than after the bag has been assembled.
Step 3: Attach the Handles
Once you are happy with the handle placement, secure the handles to the outer fabric using pins or sewing clips.
Sew the handles firmly in place with your sewing machine.
Because the handles will carry the weight of everything inside the tote bag, this is an area where strong stitching is especially important.
Use a backstitch at the beginning and end of the seam to help prevent the stitches from coming loose.
For additional strength, you can sew over the handle attachment area more than once or create a small reinforced stitching pattern.
Step 4: Position the Lining and Outer Fabric
Now place the lining and outer fabric together.
Place the outer fabric with its right side facing down toward the table. Then place the lining over it so that the two fabric pieces are positioned correctly for sewing.
Carefully align the edges of the lining and outer fabric.
Use sewing clips or pins around the edges to hold the layers securely in place and prevent them from shifting while you sew.
Take your time during this step and make sure the corners and edges are properly aligned before moving on.
Step 5: Sew the Edges
Using your sewing machine, sew the required edges of the outer fabric and lining together.
Work slowly and maintain a consistent seam allowance as you sew.
The goal at this stage is to securely join the outer fabric and lining while keeping the top opening of the tote bag unstitched.
The top opening should remain open because this is where you will be able to place items inside the finished tote bag.
After sewing, you should have the outer fabric, lining, and handles joined together as one piece, while the opening of the bag remains accessible.
Step 6: Mark the Center and Fold the Bag
Once the fabric layers have been sewn together, find the center of the piece.
Fold the fabric in half so that the shorter edges meet.
Make sure the sides are aligned carefully and that the fabric is not twisted.
Use sewing clips or pins to hold both sides securely in place. This will prevent the fabric from slipping while you sew the side seams.
Before continuing, check both sides and make sure the handles are positioned correctly.
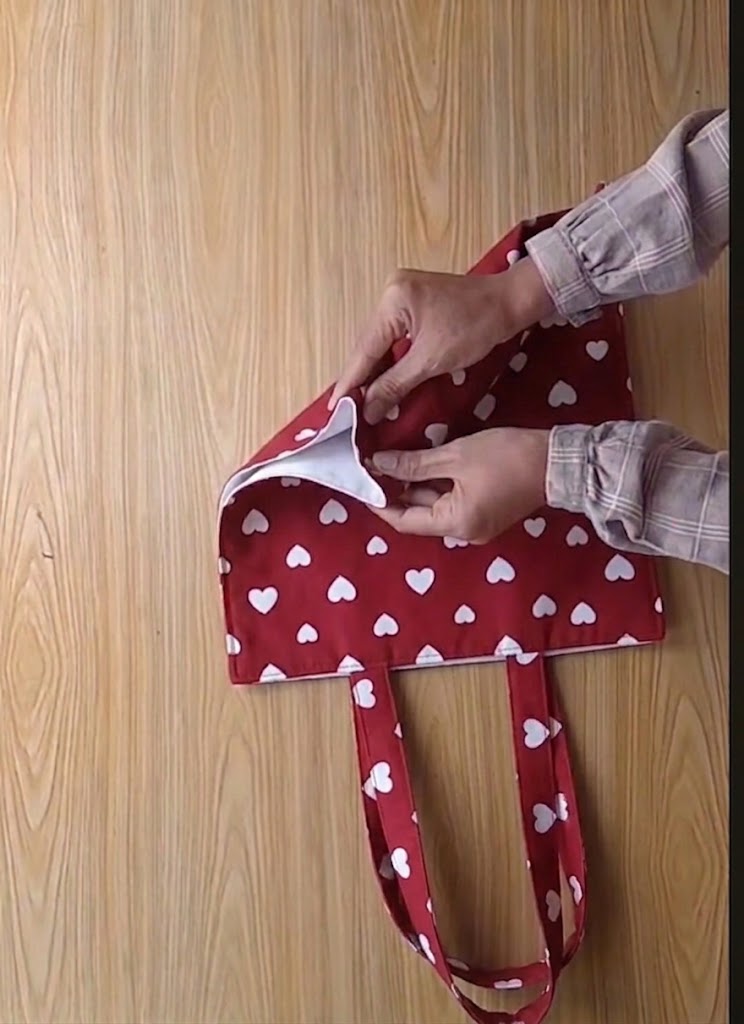
After folding, fold the bottom part to make the bag wider. Fold it on both sides and secure it with a handle as shown in the picture.
Step 7: Sew the Side Seams
Now it is time to create the basic shape of the tote bag.
Using your sewing machine, sew along the side edges of the folded bag.
As you sew, maintain an even seam allowance and try to keep the stitching straight.
Use a backstitch at the beginning and end of each side seam to reinforce the stitching.
Pay particular attention to the areas around the handles. These areas experience additional tension when the bag is carried, so secure stitching will help make the finished tote bag stronger and more durable.
Step 8: Check the Seams
Before finishing the project, inspect the seams carefully.
Check that both side seams are secure and that there are no large gaps or loose stitches.
Also check the handle attachment points and make sure they are firmly stitched.
If you notice an area that needs additional reinforcement, sew over it again before using the bag.
Taking a few minutes to inspect your work can make a big difference in the durability of your finished tote bag.
Step 9: Turn and Shape the Tote Bag
Once the side seams are complete, carefully turn the bag so that the outer fabric is on the outside and the lining sits neatly inside.
Gently shape the corners and edges with your fingers.
Do not use anything sharp to push out the corners, as this could accidentally damage the fabric.
Take your time to straighten the seams and make sure the lining sits properly inside the outer bag.
Step 10: Press the Finished Bag
The final step is to press your handmade tote bag.
Use an iron to carefully press the seams and edges. Pay particular attention to the top edge, side seams, and corners.
Pressing helps flatten the fabric and gives the finished tote bag a cleaner, more professional appearance.
Always use a suitable temperature for the type of fabric you are working with.
After pressing, your handmade tote bag is ready to use.
Tips for Sewing a Stronger Tote Bag
A few simple techniques can help improve both the appearance and durability of your handmade tote bag.
Choose the Right Fabric
The outer fabric should be strong enough to handle everyday use. Denim, canvas, linen, and other sturdy woven fabrics are excellent choices.
For the lining, a lighter cotton fabric can provide a clean interior without making the bag unnecessarily heavy.
Measure Carefully
Accurate measurements are one of the most important parts of sewing a tote bag.
Measure each piece carefully before cutting, and check the measurements again before assembling the bag.
Reinforce the Handles
The handles are one of the most important structural parts of a tote bag.
Since they carry the weight of the contents, make sure they are securely attached and reinforced with strong stitching.
Use Clips or Pins
Fabric can easily shift while you’re sewing, especially when working with multiple layers.
Using sewing clips or pins helps keep the edges aligned and makes the sewing process much easier.
Press as You Sew
Don’t underestimate the importance of pressing.
A quick press after sewing can help flatten seams, improve the shape of the bag, and create a much cleaner finished appearance.
How to Customize Your DIY Tote Bag
One of the most enjoyable parts of sewing your own tote bag is customizing it.
You can experiment with different fabric colors and patterns to create a bag that matches your personal style.
For a simple minimalist look, try neutral fabrics with matching handles. If you prefer something more colorful, combine a patterned lining with a solid outer fabric.
You can also add embroidery, appliqué, fabric patches, initials, decorative stitching, or other small details.
The tote bag in this tutorial can also be used as a starting point for future projects. Once you’re comfortable with the basic construction, you can experiment with larger or smaller dimensions, longer handles, different fabrics, and additional pockets.
Common Mistakes to Avoid When Sewing a Tote Bag
If you’re making your first tote bag, there are a few common mistakes worth avoiding.
Cutting without measuring carefully: Always double-check your measurements before cutting the fabric.
Uneven handle placement: Make sure both handles are positioned at equal distances from the center and side edges.
Weak handle stitching: Reinforce the handle attachment points because they will carry most of the weight.
Skipping pins or clips: Securing the layers before sewing can help prevent shifting and uneven seams.
Sewing the top opening closed: Remember that the upper opening needs to remain open so the finished tote can be used as a bag.
Rushing the final pressing: A well-pressed project usually looks much more polished and professional.
Frequently Asked Questions
Is this tote bag suitable for beginners?
Yes. This is a relatively simple sewing project and is a good way for beginners to practice measuring, cutting, sewing straight seams, attaching handles, and working with a lining.
What fabric is best for a handmade tote bag?
Sturdy woven fabrics such as denim, canvas, and linen are good choices for the outer layer. Lightweight cotton can work well as a lining.
How long should tote bag handles be?
For this project, the recommended handle length is approximately 50 cm (19.7 inches) per handle. You can adjust the length depending on whether you want to carry the bag by hand or over your shoulder.
Can I use different fabric for the lining?
Absolutely. The lining is a great place to add color or a pattern. Just make sure the fabric is suitable for sewing and is cut to the required dimensions.
How can I make my tote bag stronger?
Use a durable outer fabric, reinforce the handle attachment points, secure your seams with backstitching, and make sure the side seams are sewn securely.
Final Thoughts
Learning how to sew a tote bag is a rewarding project that combines practicality and creativity. With a few pieces of fabric, simple sewing tools, and a little patience, you can create a reusable bag that is both useful and personal.
Don’t worry if your first attempt isn’t perfect. Every project teaches you something new, and each tote bag you make will help you become more comfortable with your sewing machine and improve your technique.
Once you understand the basic steps, don’t be afraid to experiment. Try different fabrics, colors, handle lengths, and decorative details to create a tote bag that is truly your own.
The techniques in this tutorial give you a simple foundation, but your creativity is what makes the finished project special. So gather your fabric, start your sewing machine, and enjoy the process of turning a few simple materials into a handmade tote bag you’ll be proud to carry.