
Introduction
There’s something quietly powerful about making something beautiful with your own two hands. Sewing isn’t just a practical skill — it’s also a wonderful way to slow down: the simple rhythm of pinning, folding each pleat, and pressing them into place has a way of easing stress, sharpening focus, and leaving you with a real sense of accomplishment once the final skirt comes together. It’s completely normal if a pleat doesn’t align perfectly on the first try — that’s part of the process, not a sign you’re doing something wrong. Every fold and every stitch builds a little more confidence for the next one.
Don’t hold back your imagination or your creativity — this project is yours to make your own. Play with colors, mix patterns, add a delicate ribbon to the hem, or choose a unique button for the waistband; there’s no single “right” way to do it. The techniques in this guide are your foundation, but the personal touches are what will make your pleated skirt unmistakably yours.
| Tip: If you’re new to sewing, start with a simple, stable fabric like cotton first — practicing the folding and measurement technique on something low-stakes lets you get comfortable before working with more fluid or expensive fabrics. If you’re already confident with a needle and machine, feel free to dive straight into the fabric you’ve been dreaming of. |
This guide was written with exactly that in mind: clear, patient, step-by-step instructions that walk you through everything, from choosing your materials and calculating the precise measurements for your pleats, to folding, stitching, and finishing your skirt with a neat waistband and closure. All it takes is a little patience and a willingness to go one step at a time. Whether this is your very first garment or one of many, trust the process — by the end, you won’t just have a beautifully finished pleated skirt, you’ll have real proof of what patience and practice can create.
What You’ll Need
Making a pleated skirt calls for a few simple sewing tools and a generous amount of fabric. Pleated skirts need more fabric than a plain skirt because of the folds. To make one, you’ll need:
- Fabric in your favorite color and fiber type. Cotton and wool hold pleats well, while lighter fabrics like silk and satin do not. Keep in mind that you’ll need a piece long enough to be about three times your waist measurement, so it’s worth measuring the fabric while you’re still at the store — this generous amount leaves enough room for the pleats.
- Tailor’s chalk
- Scissors
- A measuring tape
- A sewing machine
- Thread
- An 18 cm (about 7 in) zipper
Part One: Measuring and Cutting the Fabric
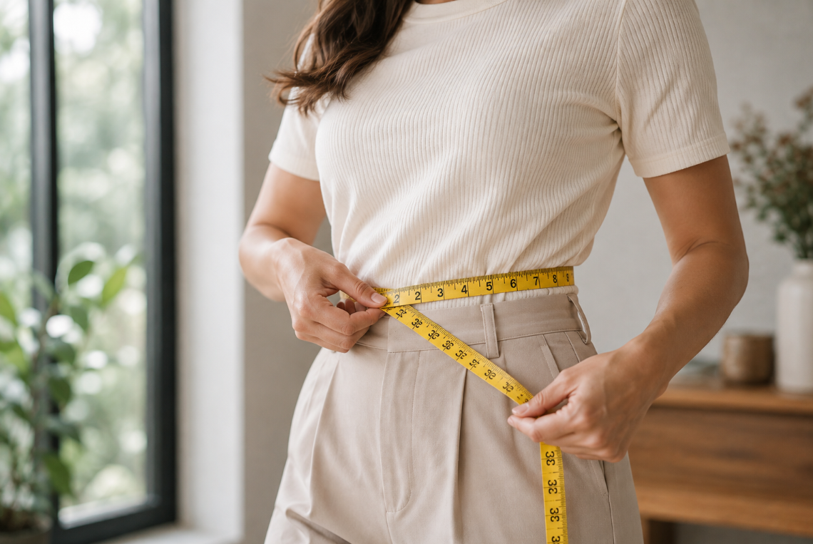
Step 1 — Calculate Your Fabric Size
Step 1 — Calculate Your Fabric Size
For a full, beautifully proportioned skirt, use the following formula to cut your fabric precisely:
- Fabric width: Multiply your waist measurement by 3. (This guarantees full, beautiful pleats.)
- Fabric length: Add 5 cm (about 2 in) to your desired finished length. (This extra allowance is for sewing the waistband and hemming the bottom of the skirt.)
Worked example
If your waist measures 75 cm (about 29.5 in) and you want a 90 cm (about 35.5 in) long skirt:
- Required width: 75 cm × 3 = 225 cm (about 88.5 in)
- Required length: 90 cm + 5 cm = 95 cm (about 37.5 in)
Result: you will cut a rectangle of fabric measuring 225 cm wide × 95 cm long.
Step 2 — Cut the Fabric to Your Measurements
Step 2 — Cut the Fabric to Your Measurements
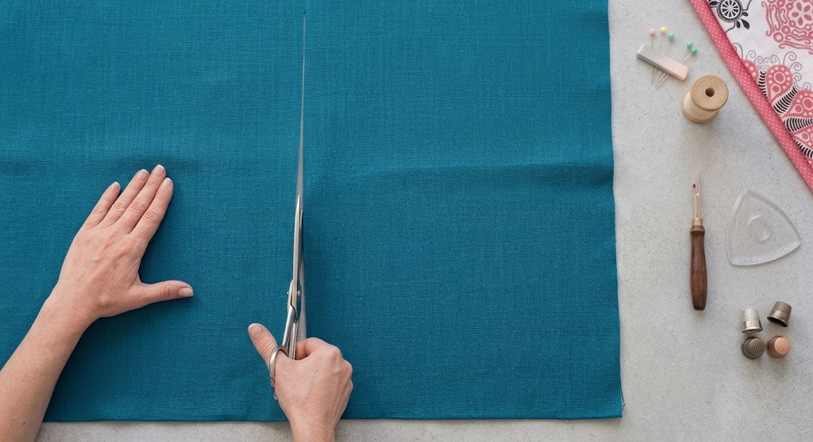
Once you’ve finished taking your measurements, cut the fabric so its width is three times your waist measurement, and 5 cm longer than the finished skirt length.
| Make sure to cut along a straight line. |
Step 3 — Decide on the Pleat Width
Next, decide how wide you’d like each pleat to be.
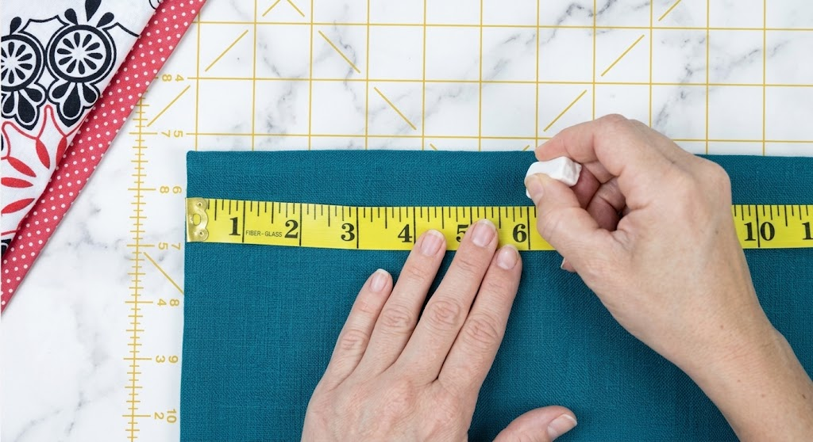
You can choose any width you like — 2, 4, or 6 cm (about ¾, 1½, or 2¼ in) are common choices. What matters most is that every pleat is the same width, so they all look neat and consistent — decide on your width before you start folding.
| Tip: The wider your pleats, the fewer of them you’ll have. If you want lots of small pleats, choose a narrower width. |
Step 4 — Mark and Fold the Pleats
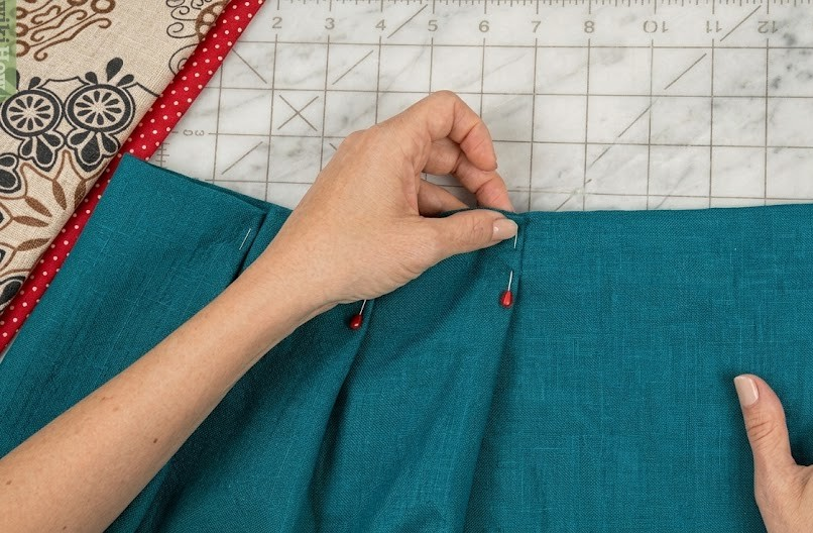
Mark the pleat positions with chalk along the top edge of the skirt, then move on to folding.
Making the Pleats
Fold and pin the pleats as shown in the photo below. Begin by gathering the fabric at the marks you made, then laying the folded section to one side. Make sure to fold all the fabric in the same direction — otherwise the pleats will look uneven. Pin each pleat in place before moving on to the next one.
Step 5 — Baste the Top Edge
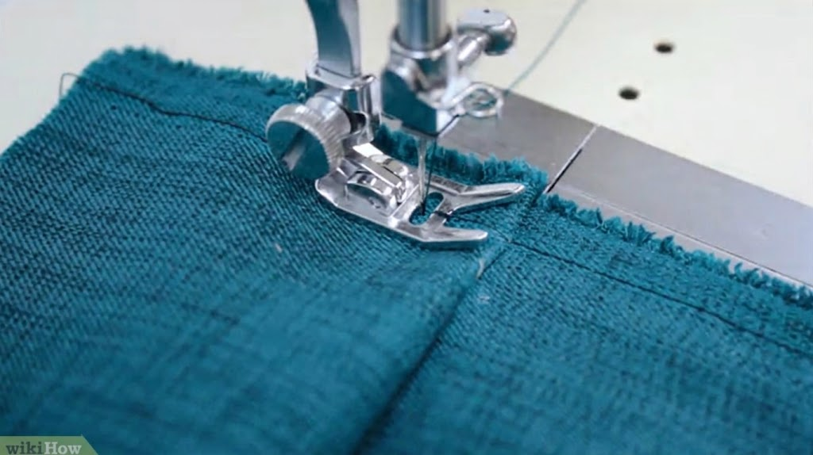
Once all the pleats are pinned in place, secure them temporarily by sewing across the top edge of the fabric. Start with a basting stitch only, so it’s easy to undo if you’re not happy with how the pleats look once sewn.
After securing the pleats, use your measuring tape to check the length of the skirt’s top edge. It should be roughly the same as your waist measurement — if it’s a few centimeters too wide, you’ll need to trim some fabric to adjust the skirt’s width.
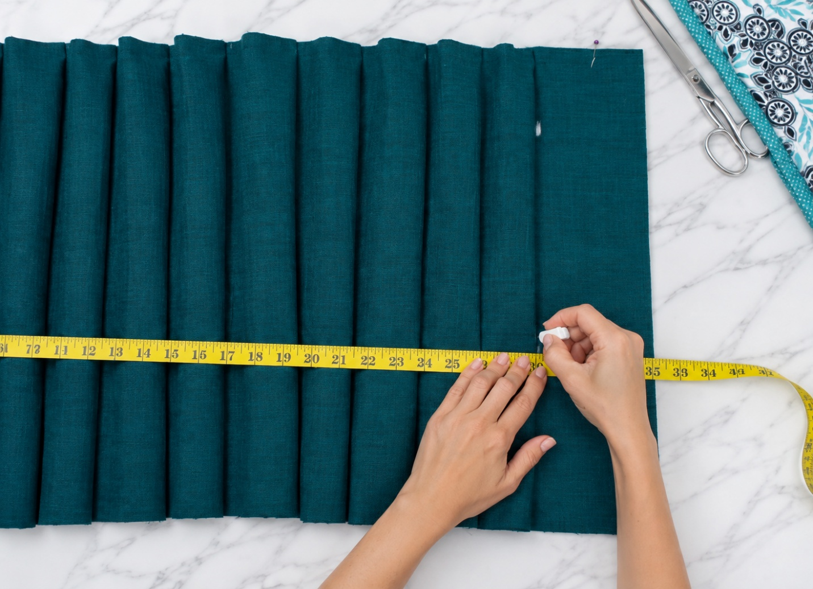
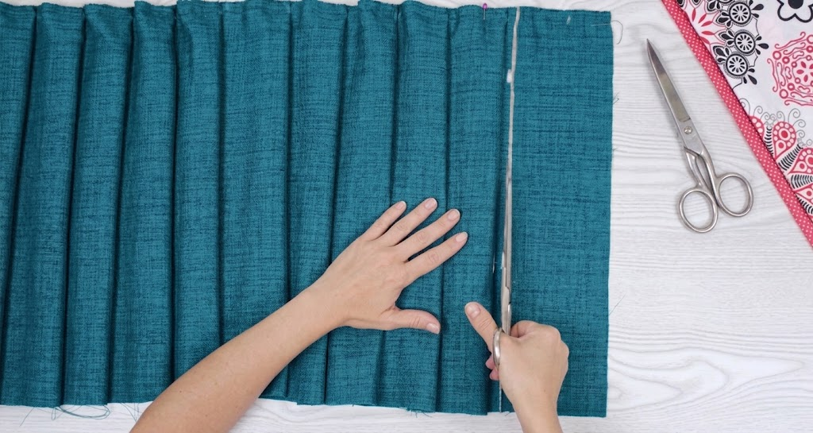
| Note: If the width is now longer than your waist measurement, mark a straight line across the excess and trim along it. |
- If you cut your fabric three times your waist measurement, it’s very unlikely to end up too small. Still, if it is, you’ll either need to start over or sew an extra strip onto the side edge of the skirt to make up the missing length.
Part Two: Assembling the Skirt
Step 6 — Make the Waistband
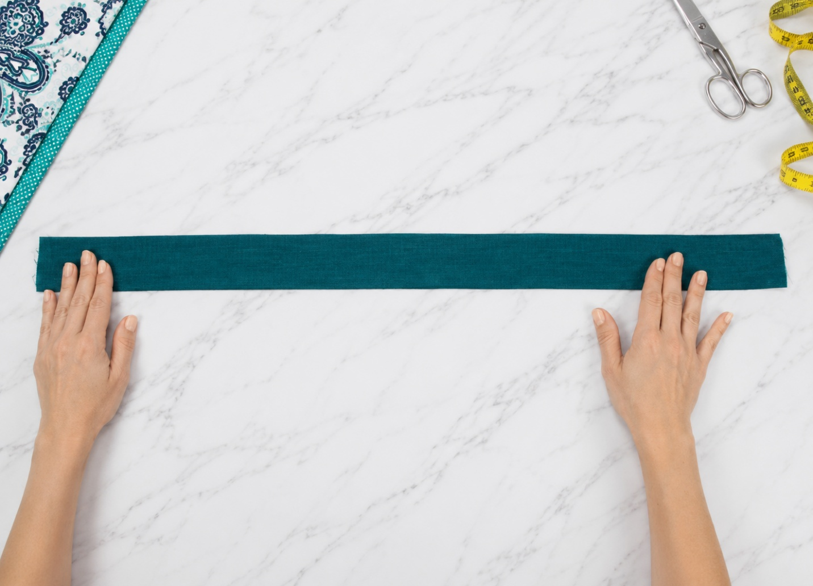
Now cut a strip of fabric for your waistband. Measure the width across the pleated section, then cut a strip of fabric that same length and about 10 cm (about 4 in) wide.
Fold this strip in half lengthwise, aligning the inside edges — the ones that won’t be visible once you’re wearing the skirt.
Step 7 — Attach the Waistband
Sew the waistband above the pleated skirt.
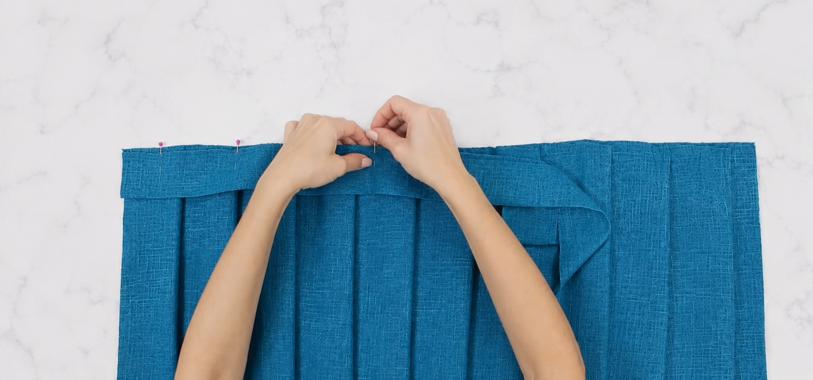
Pin it in place in a straight line.
Line up the unsewn edges of the pleated fabric and the folded waistband piece, then place the waistband piece on the outer (visible) side of the skirt fabric. Sew a straight stitch about 1.5 cm (about ⅝ in) from the unsewn edges of the waistband and the pleated fabric — this secures the waistband to the folded fabric and locks the pleats in place.
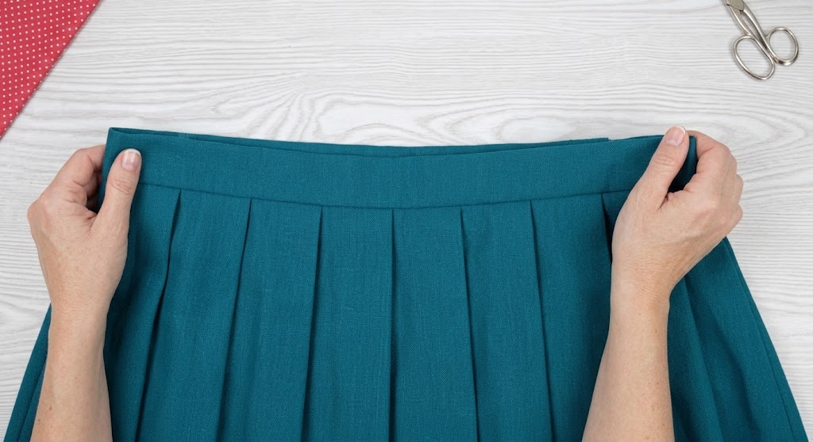
| Trim any excess thread once the waistband is sewn in place. Don’t worry about uneven edges at the short ends of the waistband — they’ll be hidden once the zipper is added. |
Step 8 — Hem the Bottom of the Skirt
Now let’s move on to the bottom of the skirt and make a hem along its lower edge.
Fold the fabric over on itself by about 1.5 cm (about ⅝ in) and pin the fold in place.
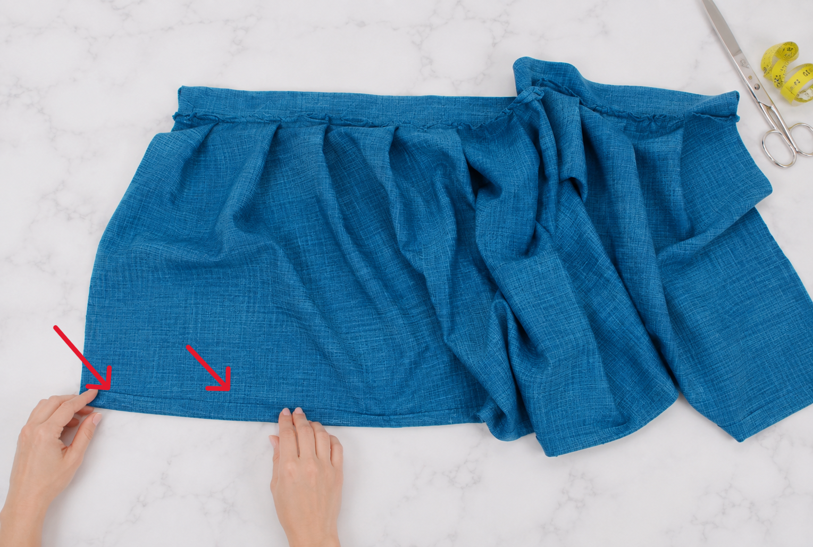
Sew a straight stitch close to the raw edge of the fabric to secure it. Remove the pins gradually as you sew.
| Tip: Pull the fabric gently to smooth it out as you stitch the edge, so you don’t accidentally catch the pleats in the hem stitching. |
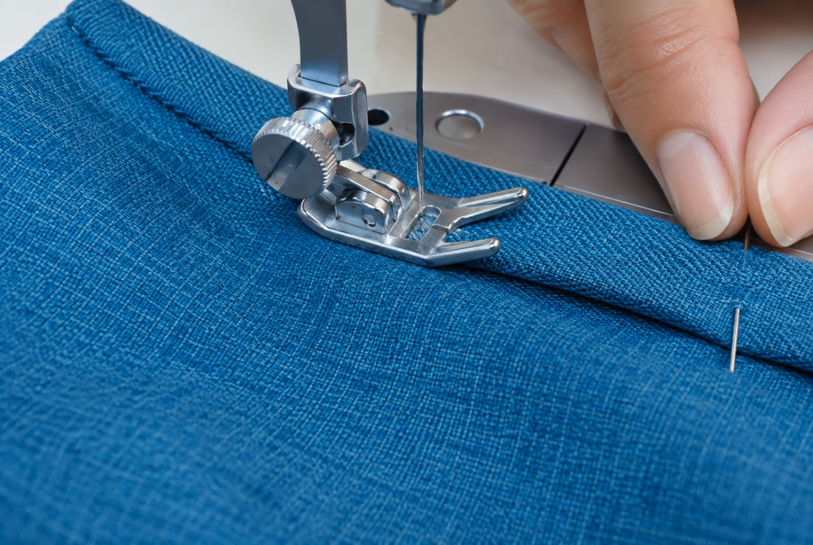
- Trim any excess thread once you’ve finished sewing.
Step 9 — Pin the Zipper in Place
When you’re ready to add the zipper, decide which side of the skirt will be the back, then start pinning the zipper along the outer edges of the fabric at the back of the skirt. Begin pinning from the top, at the waistband, and work your way down.
| Note: Before pinning the zipper, fold the skirt’s edges over slightly — just a light fold — and pin through both layers. |
Step 10 — Sew the Zipper in Place
Once you’re happy with the zipper’s position and it’s fully pinned, start sewing along the pinned edges to attach it permanently. Sew about ½ cm (about ¼ in) from the edge of the fabric and the zipper, removing the pins as you go.
- Trim any excess thread once you’ve finished sewing.
Step 11 — Close the Back Seam
You’re almost finished — just one more seam to close along the back. Line up the remaining open edges of the fabric so they’re even, with the outer (right) sides of the fabric facing each other; this ensures the seam stays hidden on the inside. Sew a straight stitch about ½ cm (about ¼ in) from the fabric edges, stitching along the line from the bottom of the zipper down to the hem of the skirt.
- Trim any excess thread once you’ve finished sewing.
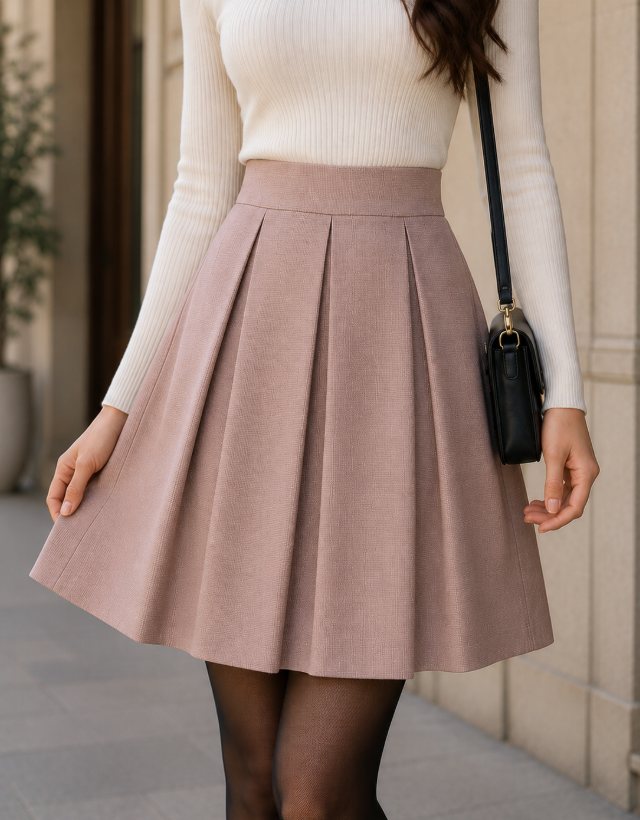
- Once the zipper and back seam are sewn in place, your pleated skirt is ready!
Step 12 — Iron the Pleats (Optional)
If you’d like your pleats to look crisp, neat, and well-defined, iron them flat once you’ve finished making the skirt. Iron each pleat individually, working from the top of the skirt downward. Keep in mind that this step is optional.
Some sites have the same type of content here.