
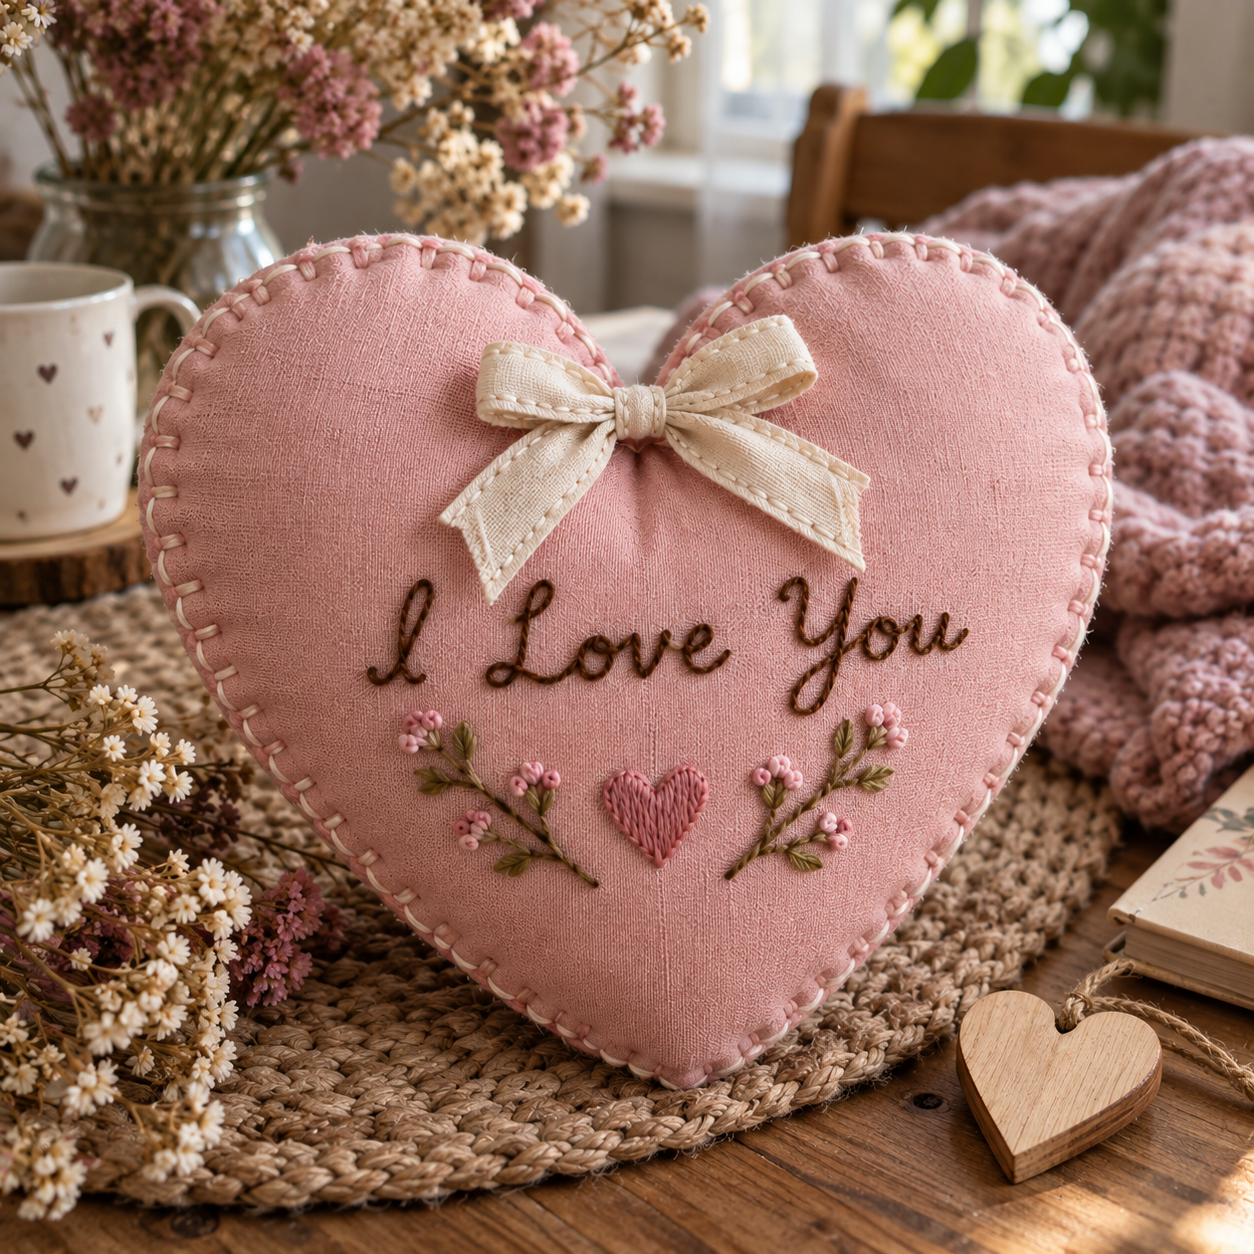
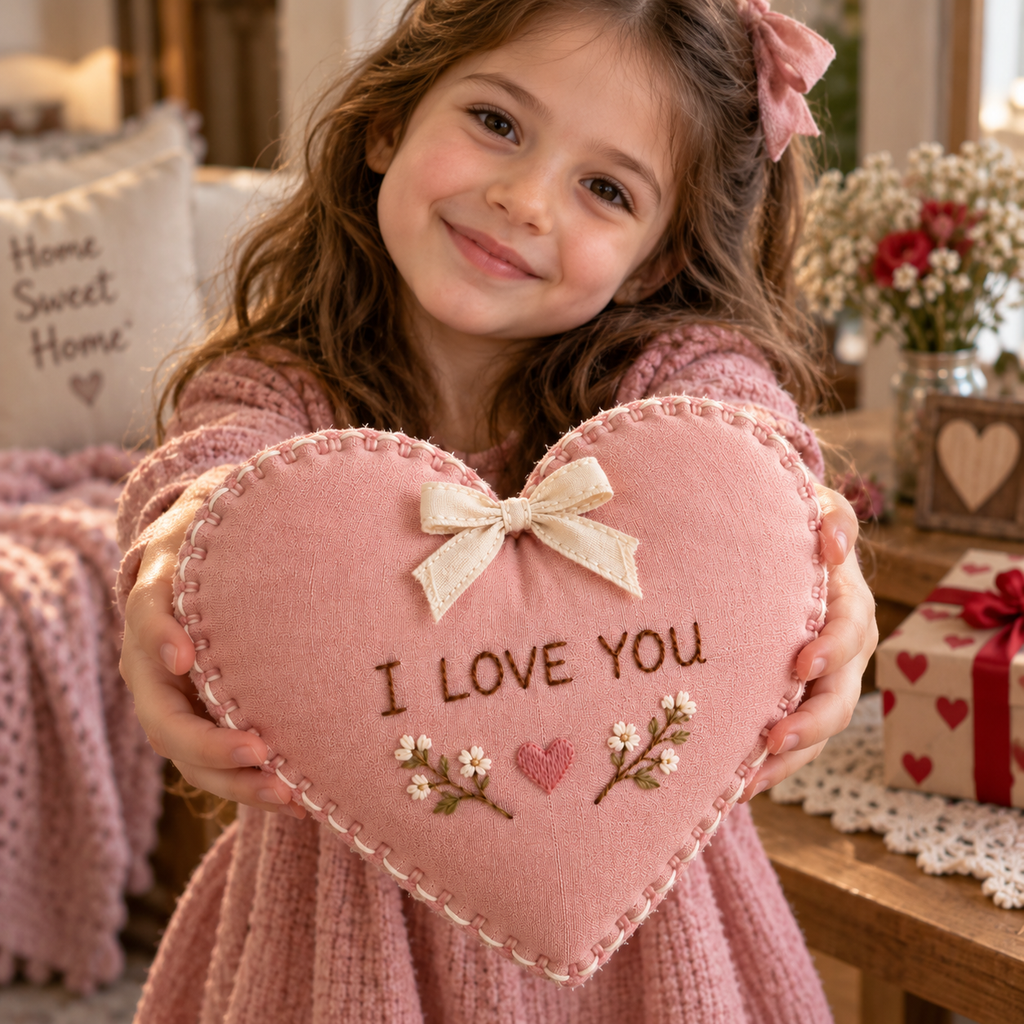
A soft, hand-stitched heart pillow with a personalized message is one of the most heartfelt gifts you can make perfect for Valentine’s Day, anniversaries, Mother’s Day, Father’s Day, or just because. With a simple heart-shaped pattern, a little hand embroidery, and some stuffing, you can create a keepsake that says exactly what you want it to say. Follow this step-by-step guide to make your own custom embroidered heart pillow.
Materials You’ll Need
Soft fabric in your preferred color (cotton or linen works best for embroidery)
A heart-shaped sewing pattern (template)
Scissors (fabric scissors recommended)
Straight pins
Needle and thread, or a sewing machine
Polyester stuffing (or cotton balls, fabric scraps, or yarn as alternatives)
A wooden spoon or similar tool for pushing stuffing into tight spots
Embroidery hoop (small, 10–15 cm)
Embroidery floss in your chosen color(s)
Embroidery needle
Washable fabric marker or tailor’s chalk (for tracing the text)
Ribbon or small fabric scraps for decoration (optional)
For a finished heart pillow measuring about 25 x 22 cm, you’ll need roughly 0.3 meters of fabric.
- Step 1: Cutting the Fabric
Choose your fabric. Pick a smooth, tightly woven fabric such as cotton or linen this makes embroidery much easier than a stretchy or textured fabric. Light or neutral colors (white, cream, blush pink, sage green) work best, since they let the embroidered text stand out clearly.
Draw or print your heart pattern. You can find free printable heart pillow patterns online, or simply draw one freehand on a sheet of paper a heart shape is easy to sketch symmetrically by folding the paper in half first and cutting along one curved line. Choose the size based on your preference.
Cut out the pattern. Follow the drawn lines carefully with a sharp pair of scissors, cutting slowly around the curves and the center dip of the heart. Discard the excess paper once done.
Tip: Make sure your pattern includes seam allowance. If it doesn’t, leave about 1.25 cm of extra space around the drawn lines when cutting to allow room for stitching.
Fold the fabric and pin the pattern. Fold your fabric in half, smooth out any wrinkles, and place the paper pattern on top. Pin it in place so both layers stay aligned while cutting, inserting a pin every 5–7 cm along the edges.
Cut the fabric. Using sharp fabric scissors, cut slowly along the edges of the paper pattern, taking extra care around the center dip and the pointed bottom of the heart. Once finished, remove the pattern and set it aside for future projects but keep the front piece unsewn for now, since you’ll embroider it before assembling the pillow.
- Step 2: Embroidering the Message
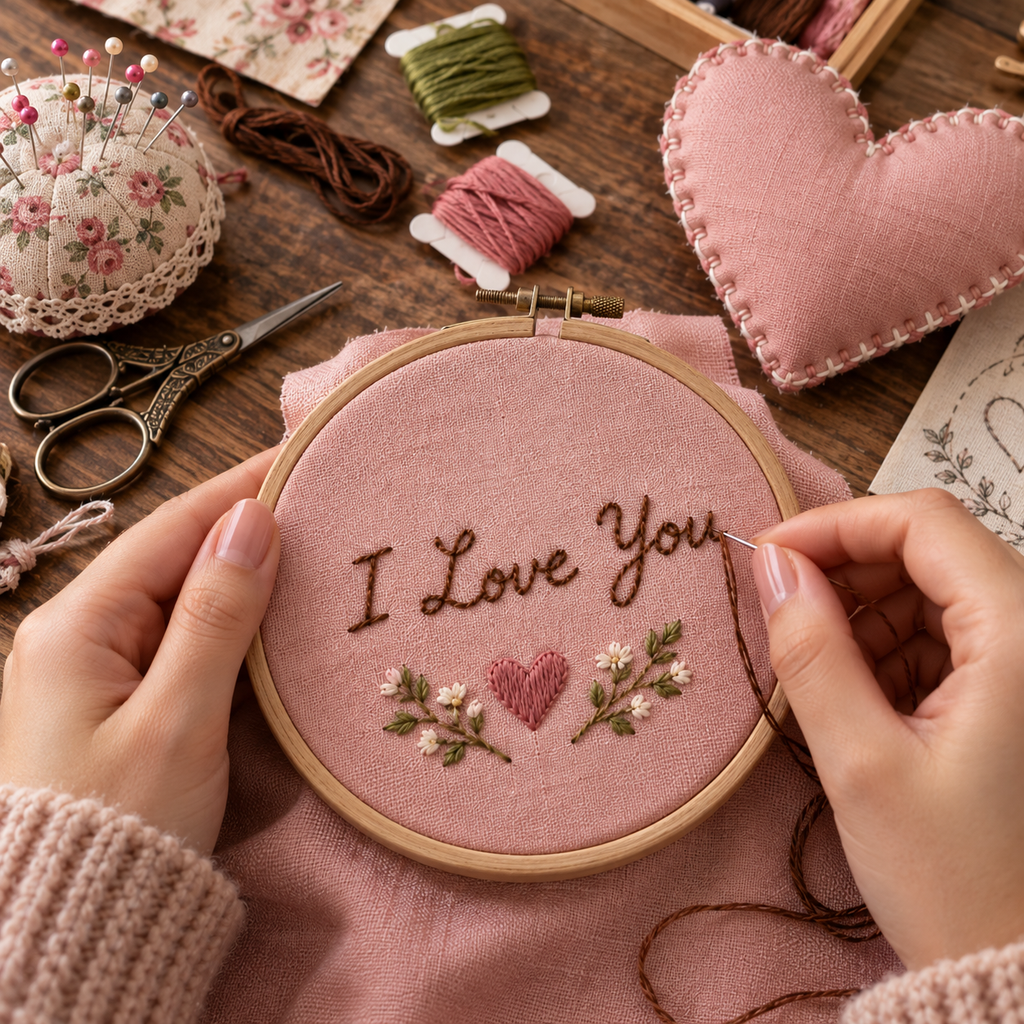
Trace your text onto the fabric. Using a washable fabric marker or tailor’s chalk, lightly write your chosen message in the center of the front fabric piece only. Keep it simple and centered short phrases like “I Love You,” “Dad,” “Mom,” “Best Friends,” or a name and date all work beautifully.
Secure the fabric in an embroidery hoop. Stretch the fabric taut inside the hoop, centered on your traced text. A taut fabric surface makes for much neater, more even stitches.
Stitch the letters. Thread your embroidery needle with 2–3 strands of embroidery floss and knot the end. Using a simple backstitch (ideal for beginners and great for lettering), follow your traced lines one letter at a time. Keep your stitches small and even for the cleanest look. For a bolder, more textured effect, you can also use a stem stitch along the letters.
Add a decorative touch (optional). Once the text is done, you can embroider a small motif around it a tiny flower, a row of dots, or a simple vine to frame the message nicely.
Remove the hoop and trim any loose threads. Once your embroidery is complete, gently remove the fabric from the hoop and snip away any stray threads on the back.
- Step 3: Sewing the Heart Together
Pin the fabric pieces together. Place the embroidered front piece and the plain back piece together with the right (outer) sides facing inward your embroidery should now be hidden between the layers. Align the edges evenly and pin every 5–7 cm along the outer edges. Leave an 8 cm gap unpinned along one of the straighter sides of the heart this opening will let you turn the pillow right-side out and stuff it later.
Sew along the edges. Using a sewing machine set to a straight stitch, or hand-stitching with all-purpose thread, sew along the pinned edges to join the two pieces, keeping about 1.25 cm of seam allowance. Take extra care around the center dip of the heart, since it’s the trickiest curve to sew evenly. Remember to leave the marked gap open, and remove the pins as you go.
Clip the seam allowance. Once finished sewing, use sharp scissors to make small notches along the curved edges, and a small straight snip into the center dip (without cutting the stitches) this helps the heart lie flat and smooth once turned right-side out.
Turn the pillow right-side out. Use the opening to reach inside and pull the fabric through to the right side. A wooden spoon handle helps push out the pointed bottom tip and the center dip fully.
Stuff the heart. Push stuffing through the opening, filling the pointed tip and the rounded top lobes first, then the center, until the pillow feels nicely plump but not overstuffed a slightly soft, huggable pillow looks best. Use a wooden spoon to reach the pointed corners.
Close the gap. Once stuffed to your liking, fold the raw edges of the opening inward and press them together. Secure with 2–3 pins along the opening.
Hand-stitch the opening closed. Thread a needle with matching thread and knot the end. Starting about ½ cm from the folded edge, stitch back and forth across the gap using small, even stitches, pulling the thread taut after each pass. Continue until fully closed, then knot off and trim the excess thread. Remove any remaining pins.
- Step 4: Finishing Touches
Add a hanging loop (optional). Fold a short piece of ribbon in half and tuck the ends between the fabric layers at the top of the heart before you sew the final seam closed this lets your pillow double as a hanging decoration.
Personalize further. Sew on a small lace trim around the edge, add a fabric bow at the top dip of the heart, or stitch a tiny date or initials beneath the main message for an extra sentimental touch.
- Quick Tips for Success
Always finish the embroidery before sewing the two pieces together it’s much easier to work on a flat piece of fabric than a stuffed one.
Use 2 strands of embroidery floss for delicate, fine lettering, or 3–4 strands for bolder, more visible text.
Practice your text on a scrap piece of fabric first if you’re new to embroidery.
Popular phrase ideas: I Love You, Dad, Mom, My Love, Est. [Year], Best Friends, or a name.
A personalized embroidered heart pillow is a simple, budget-friendly project that turns a few basic sewing skills into a truly meaningful handmade gift perfect for any occasion where you want to say something from the heart.